Cleaning and Reassembling the Top End
(Back to Page 1, if you started here....)
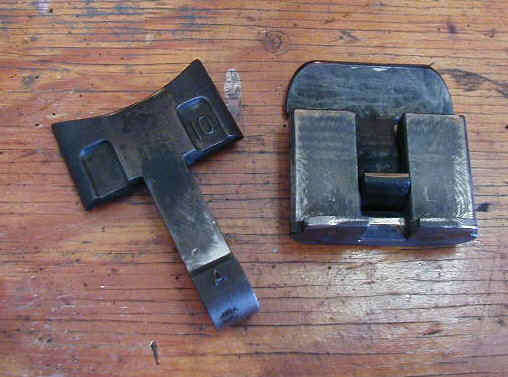
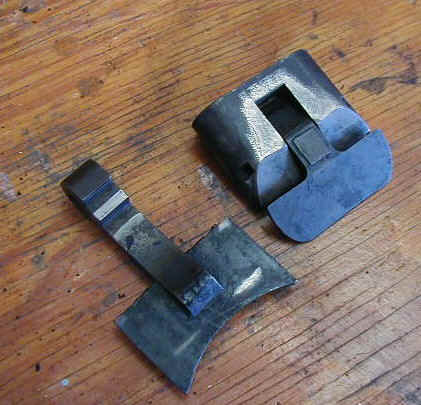
These are the cleaned main valves. Check out the far left- I didn't even know those trenches were there, there was so much carbon on these parts! I cleaned these up with contact cleaner, a stiff wire brush, and some kerosene.
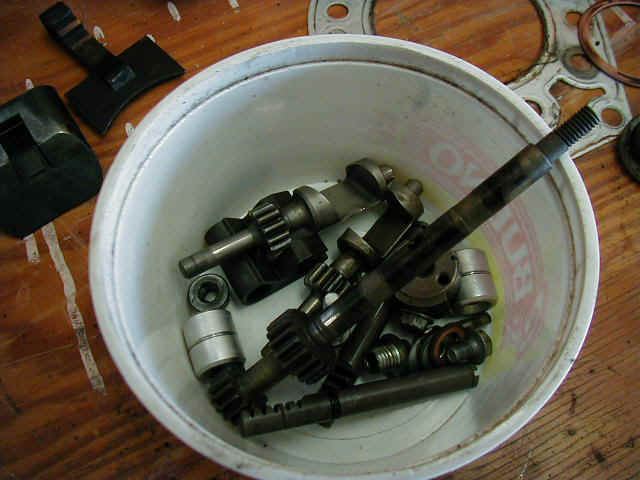
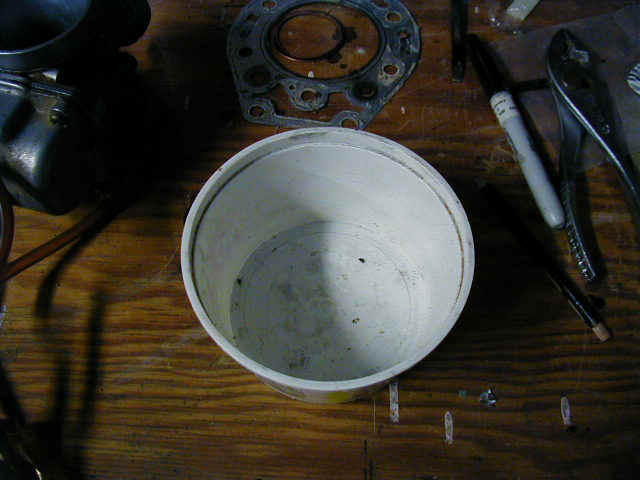
And here's a bucket full of kerosene-cleaned parts almost ready for re-assembly. Before I actually put them in the top-end, I'll wipe them down again with a clean, pre-mix lubed cloth to remove any stray dirt. Moly lube will be used where called for.
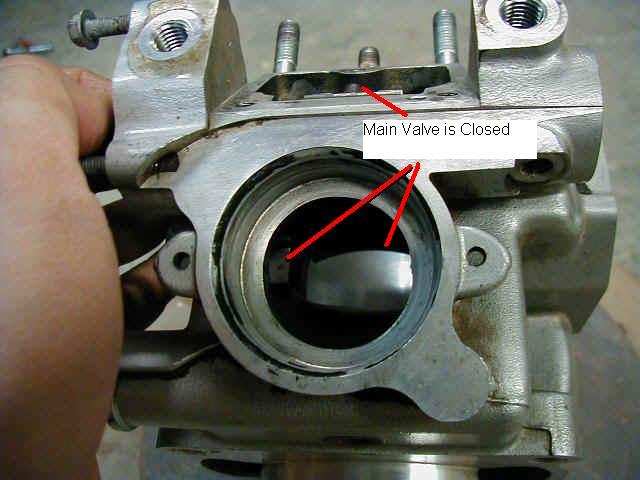
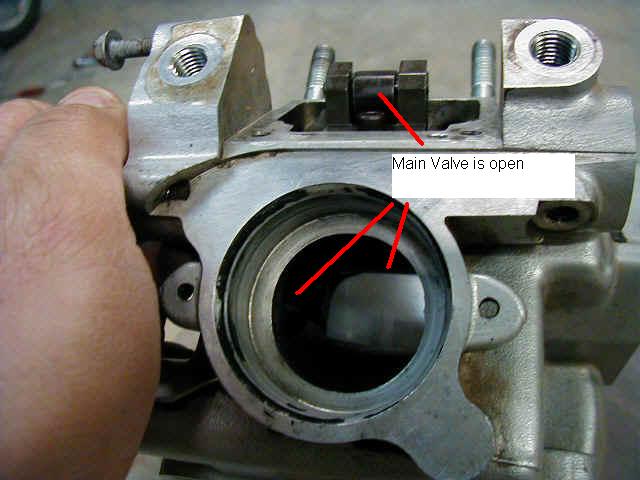
Here's some things to check for in re-assembly. First, make sure you get the correct valves and valve gear shafts in the right place. The grooved shafts go on the left hand side of this photo. Before disassembly, I marked the top of the valves with a Sharpie marker. This made re-assembly a lot easier. I used Yamalube 2R to coat all metal parts during reassembly. Slide the main valve in first, using lube to make it easier. Check for smooth operation. Then, install the valve gear shafts in the holes(the 2 threaded holes above). Make sure they're pushed all the way in. Then insert the left side (respect to photo) valve. With the gear shafts all the way in, the valves should be shut, as in this photo. In this picture, you can just see a shiny surface where the arrow is pointing- that's the closed valve. Slide the shaft that controls the main valve in and lock it down with the small allen head screw. By turning the shaft with your finger, you should see both the main valve and the left hand valve open and shut. When the left hand valve opens, it should open flush with the cylinder. If not, rotate so that it does. Likewise, when it's shut, it should be fully shut.
Here's the valves open. I could not get a shot of the valve opened, but you should easily be able to see it open. Also notice that the main valve is opened- compare the opening of the main exhause port in these two shots. Once you have the left hand valve opening and shutting correctly, install the right hand valve and gear. Install the ball bearing detent, spring, washers, and bolt. Set the timing on the right hand valve the same way. When the rod is turned completely one way, both valves should be shut and shut flush. When turned the other way, they'll be open and opened flush with the cylinder wall. Visualize exhaust gas flow and you should be okay.
Check for smooth operation at all times and add lube if necessary. If anything binds or feels stiff, fix it before going any further!! When you get done reassembling the head, your parts bucket should be empty, of course!
After re-assembling the KIPS valve, the rest of the top-end job is pretty straightforward. Make sure your piston rings center on the locating pins, keep gasket surfaces clean, torque everything to specs and you should be fine. The bike should start right away, and indeed, mine started on the 2nd kick after reassembly- just the way I like it!
Happy KDX'ing!
Back to Dirt Bike page
Back to Home page (if you came directly to this page...)