Pulling a thru-saddle on a Martin
Martin's "vintage" recreations come with a psuedo-"thru" saddle that is glued in (as it should be, IMHO). Before the stock saddle (usually Micarta, but can be fossil ivory on higher end models) can be replaced, it needs to be removed! One way to do this is to route the saddle out, and Frank Ford gives instructions on this on his web site. I prefer to get the saddle out in 1 piece, especially if it's ivory or bone, because I can then use it as a template for the new saddle. Plus, if it's ivory or bone or some other good material, I can frequently re-shape and re-use the saddle elsewhere. As of Sept 2002, I've pulled over 100 long saddles with only 1 failure and that was an ivory saddle that cracked in half when I tried to lift it. I've removed glued-in saddles on my personal guitars numerous and multiple times.
This is the procedure I use:
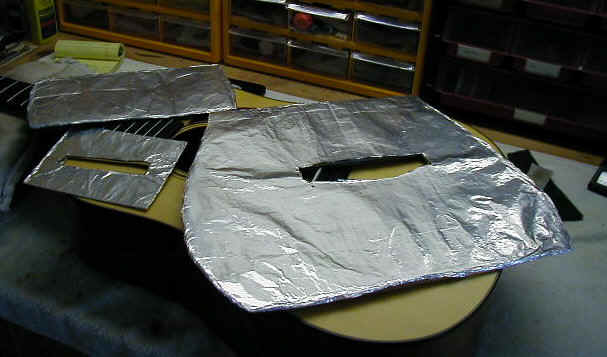
These are the protectors I use to keep the guitar top from getting hot. They're simply corrugated cardboard covered with aluminum foil.
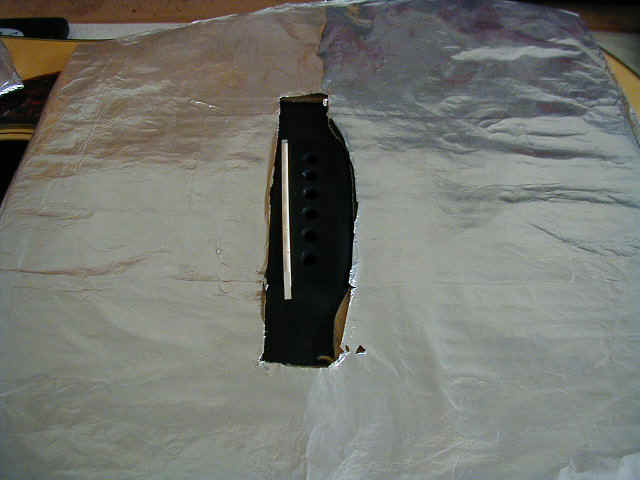
The large protector should fit pretty snugly around the bridge. I used a removed Martin bridge to trace the hole and the template fits well over most brands of bridges, from Martin to Collings to Santa Cruz to Mossman. You're going to use additional protectors anyway. That brown showing in the bottom right of the bride is exposed cardboard, BTW, it's NOT the top showing thru.
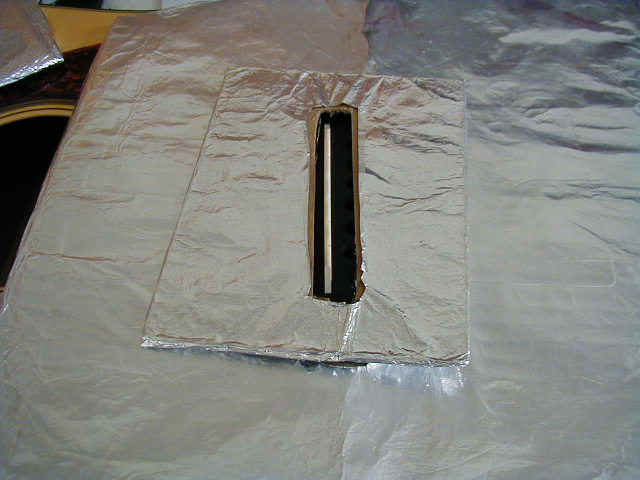
The second protector fits over the bridge and exposes just a bit of the bridge beyond the saddle. You can see that, right away, I've got a double layer of protection for the top right around the place I'm going to be heating.
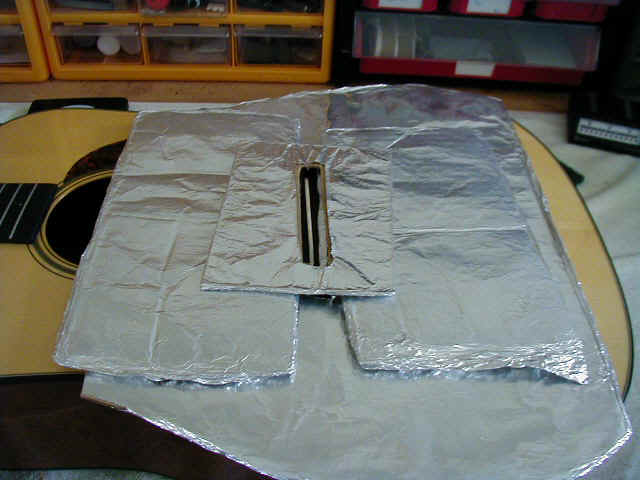
And then slide some of the rectangular protectors under this. Now we've got 3 layers of protection in some areas! You'll notice that the aluminum is a little loose on the rectangular protectors- this lets me push it around and mold the edge so that I can get them right where I want them.
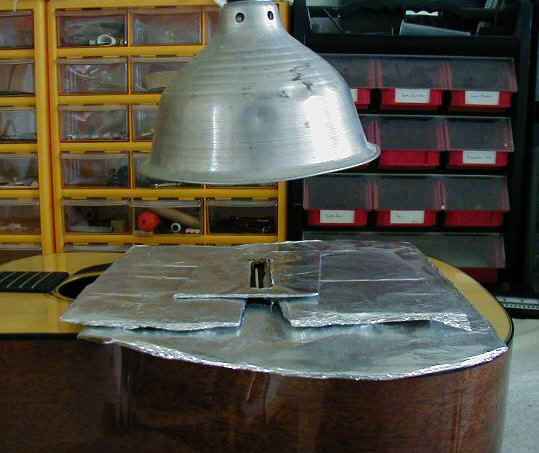
Here's my 250w heat lamp (available at fine feed stores everywhere....) set up, ready to turn on. The lamp is pretty close to the saddle, as you can see. This keeps the heat focused on a pretty tight spot. After the lamp's been on for 30 secs or so, feel under the protectors to make sure the top's cool. Mine always has been, but I always check. Done like this, the area around the saddle will be pretty hot, but the rest of the bridge under the guards will be fairly cool. I've never had problems with braces loosening or the bridge loosening or anything like that, but you will always want to check. I've felt inside during this process and the bridgeplate will still be cool.
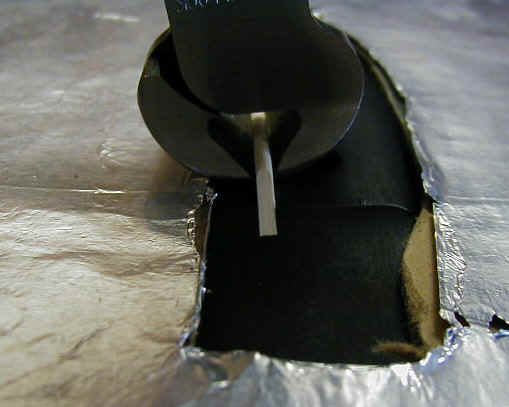
I heat the saddle for 2-3 minutes and then start testing to see if it's ready to come out yet. I use my fret nippers to grab the saddle right at the base and wiggle it just a little. When it's ready, it'll either just lift right out, or the glue will crack loose easily. If a couple of wiggles don't show saddle movement, it's not ready. It helps to concentrate heat at one end of the saddle, get that side loose, then work on the other side. When the sides are loose, the middle will generally come loose, too. I would rather heat a little more to loosen the glue than try to pry it out and risk breaking something.
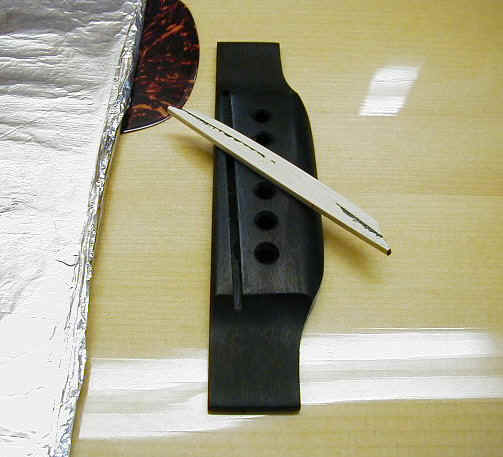
And, ta-da!, here's a removed saddle with just a hint of ebony stuck to it. This is really just a smear of glue on the saddle. I'll scrape this off with a razor blade and now I've got the original saddle all ready for measuring. The whole procedure typically takes me 10-15 minutes from the time I lay the guitar on the bench to the time I've got the saddle in my hand.