By now, the strings are set in place and I'm happy with their
location. It's time to start adjusting the slots to their final height.
I'm going to use this page to discuss various ways to set nut slot height.
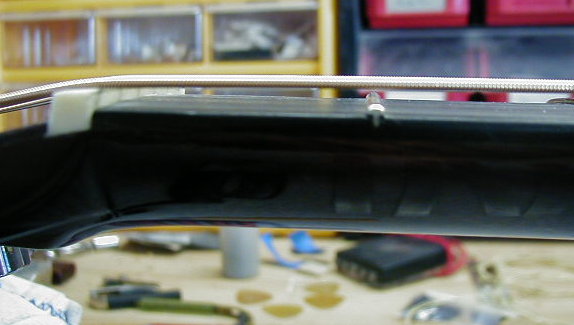 |
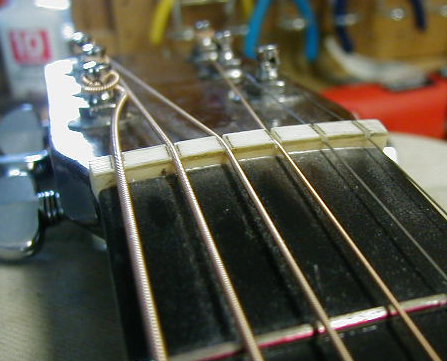
From the side you can see how shallow the nut slots are
at this stage and how high off the frets the strings are. |
 |
This is the basic method of setting nut slot
height. Hold the string between the 2nd and 3rd fret and adjust
the nut slot that each string just barely clears the 1st fret. The
distance is so small that I can't even photograph it. It'll be
just a sliver of light.
The above
technique takes the action out of consideration and sets the nut slot at
just above fret height. I'm a firm believer in setting the nut
slots at or just a tiny bit above fret height. That's the height
you're at anytime you put a capo on the guitar.
|
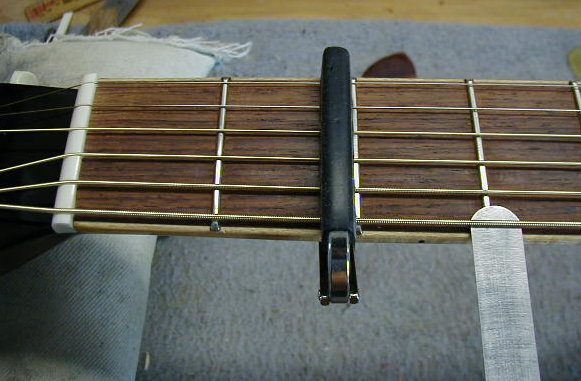 |
After using the above technique, I still like to
measure the open string. It's a larger gap and is easy to measure.
I've adjusted the slot to change the open measurement .002" or so and
seen almost no change in the "gap" but the overall result is better. I
put a capo on the 1st fret (2nd fret shown here- use the 1st) and
measure the clearance at the 2nd fret. Then add .002"-.004" to the
open string, 1st fret measurement. I'll do this for each string.
After you do 100 or so, you'll quickly see that an action of about
.105" will results in a low E nut
slot height of .018" and an action of .095" will produce a nut height of
.016", and so on. I still like to measure each one, though.
|
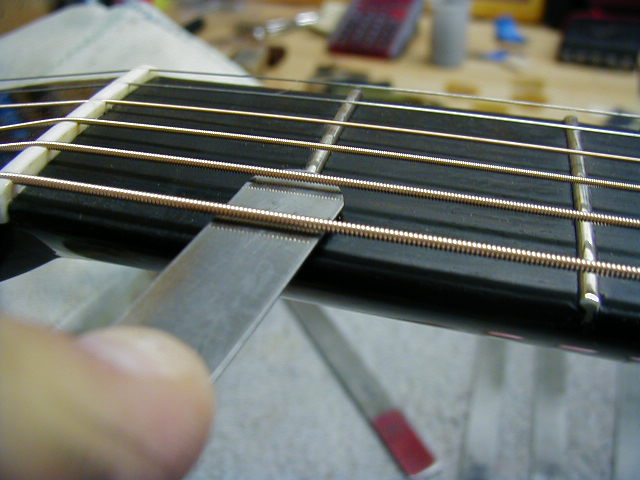 |
In this shot, I have the low E set and am dropping the
A string down. It's very clear from this shot that you can
accurately measure these things. That's a .022" gauge under the
strings and if you look very closely you can see a tiny sliver of light
under the low E string. There's an obvious gap under the A. I'm
going to set this A to .020", but used this gauge to illustrate a "done"
string and one "yet to be done".
If the string buzzes open, it probably also buzzes at each fret and a
taller saddle is required to raise all the actions. If just the
open string buzzes, then you cut the slot too low or you have sloppy
slots. |
 |
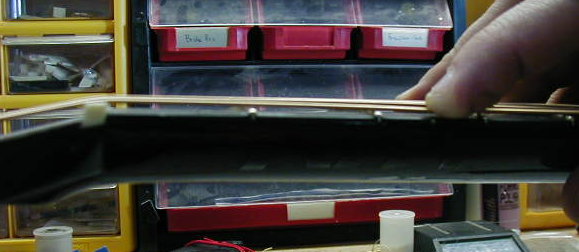
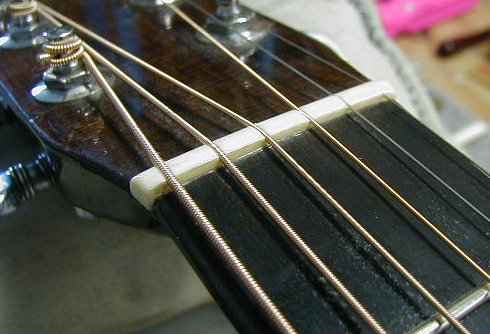
Here's the nut roughed out with the string heights set.
I'm ready to remove it, file down the top, polish it and reinstall.
Note that my pencil marks are still there! |
 |
And here's the finished nut. It wouldn't hurt for
me to remove just a little more of the top of the nut so that 1/2 the
string is exposed, but it's easy to go just a little too far and ruin
the nut, so I'm probably going to just leave it alone. I've
polished the frets and have glued the nut to the fingerboard with a
smear of bottled hide glue. Note that the tall Grover Rotomatic
tuners give a fairly shallow, and poor, break over the nut. If
those holes were down about the top of the hex nut, we'd get a stronger break angle. |
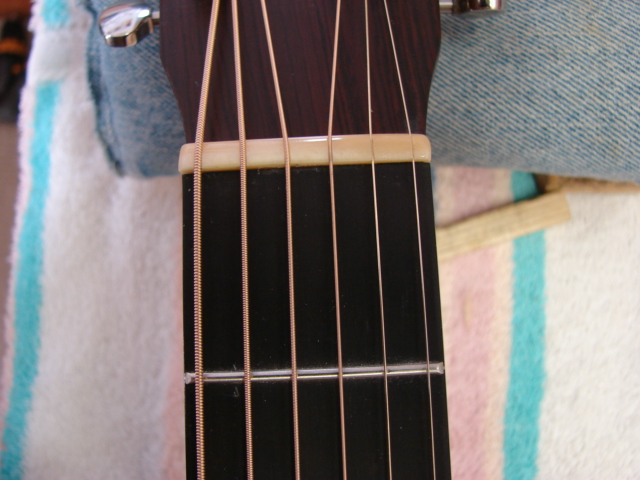 |
Here's another finished nut, from the top. This
one's made from my "vintage" bone, which has a creamier look to it than
the whiter stuff I was using above. |
And that's a nut The Kimsey Way, folks!!! Yes, I know that Stew Mac
makes a cool little gauge for spacing nuts, but I have a caliper, math doesn't
scare me, and I'd use the caliper to set the E's from the edge anyway.
Just for reference, it takes me 40 minutes, start (guitar on the bench) to
finish (playing the guitar). The longest time is spent taking the slots
down to the height and then finishing and polishing the nut.