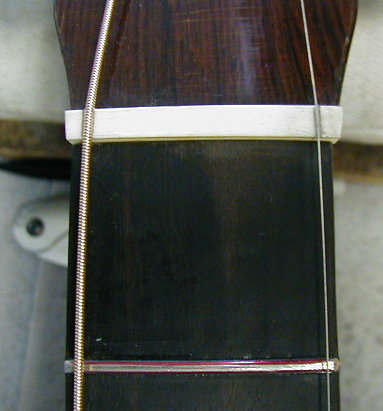
You can see how evenly the edges of the E lie on the fingerboard. I like that. The red on the frets is from my leveling/crowning. Frets just haven't been polished up yet.
Nuts
Following is a step by step description of my string nut making process. A good nut action does a lot for the playability of the guitar. I have some definite preferences:
a) I want the strings spaced evenly from string to string. I don't want them even center to center, but I want the same amount of space between each string. To me, this feels much more "open". Even center to center makes the E and A feel cramped.
b) I don't want the E's too close to the edge, yet I want them close enough that I can get a good width on the neck. If they're too close to the edge, they feel funny. Plus, I have to really bend my fingers to get the high E. When spaced in a little more, the E's feel much more "solid" to me.
|
|
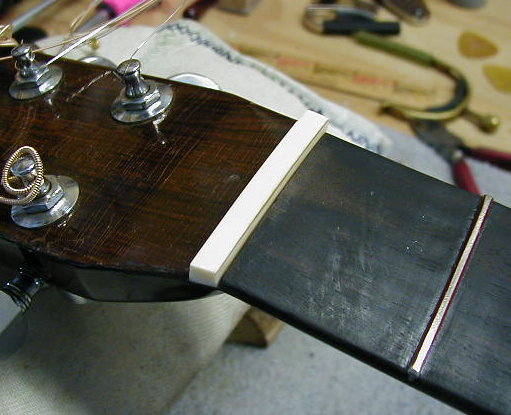
We're going to start with a nut blank fit and ready to go. Fitting the nut is just a matter of careful sanding and skill with your tools. I use a Delta sander and have the disc's table set for a Martin nut angle. |
|
|
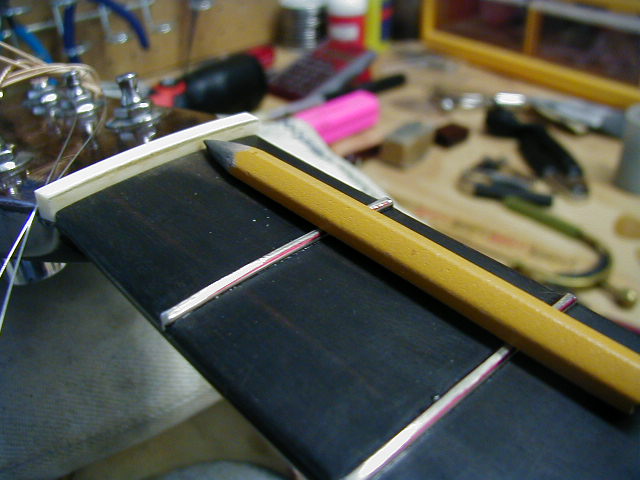
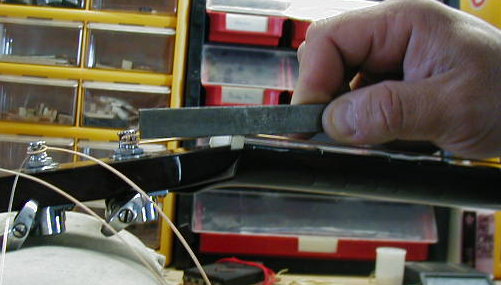
Here's a common trick for roughing in the nut height. Use a pencil that's been sanded flat and lay it over two frets. Draw a line. Sand down to this line. Be careful- when the pencil is fresh and sharp the line will be closer than after the pencil is worn. I always sand to the line and no further. |
|
|
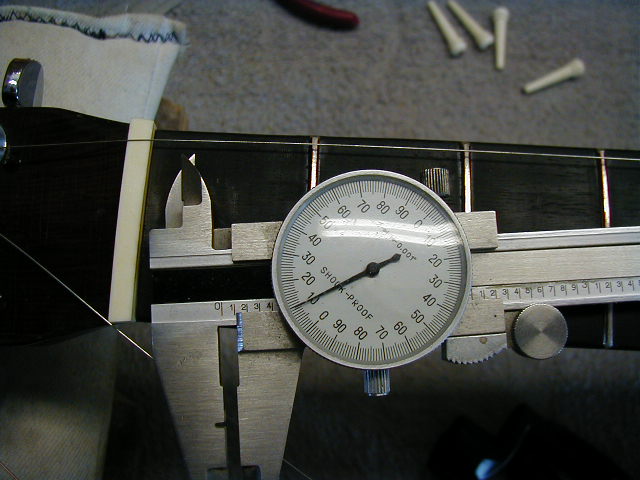
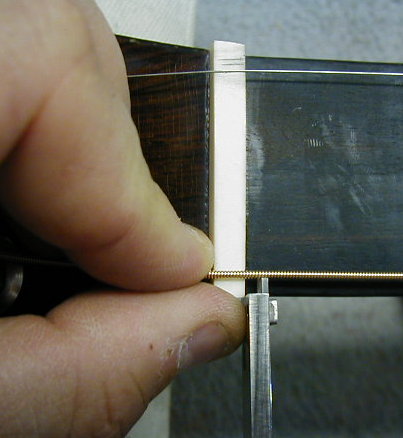
First thing to do is set my calipers for the distance "in" I'm going to set the E's. This neck is a 1 11/16" neck and I'm going to set the E's in .105" from the edge of the fingerboard. On a 1 3/4" neck, I might set them .120". I've got as close as .080" on some guitars, but any closer than that and you're getting too close to the edge for most people- they'll pull the string off the frets. The calipers lock with the little thumbscrew just behind the dial. |
|
|
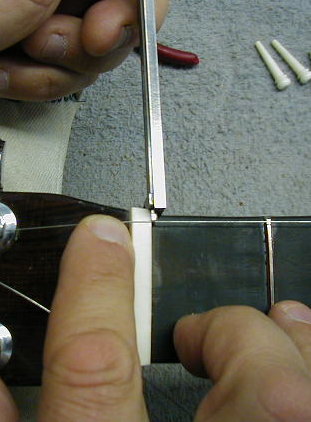
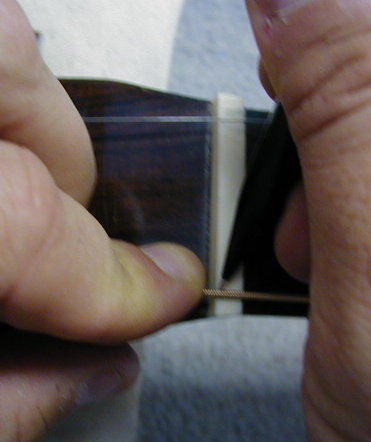
I'm using the locked calipers to set the high e string. I push the E up against the caliper's tang and hold the string in place with my finger. |
|
|
Here I'm marking the low E. I use a mechanical pencil to scribe a line on both sides of the string. |
|
|
I'm marking the low E and you can see the dual pencil marks for the high E (which is temporarily pushed out of the way). |
|
|
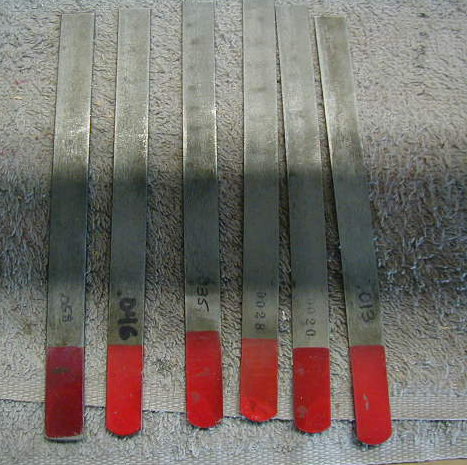
Here's the aresenal of nut files I'm going to use for this job. I have other files that I use on mandolins or for light gauge strings, but these are the one I use most. I typically make the groove .002-.004" larger than the target string. |
|
|
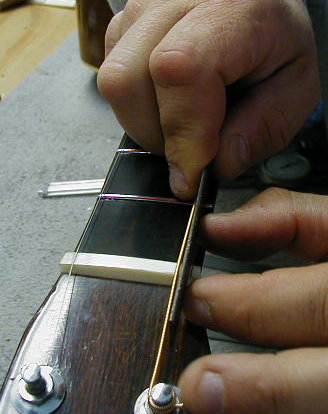
Using the .058" file to cut a very shallow groove for the low E string. You can see how I guide the file with my fingers and kind of "hem it in". I try to balance the file in-between my pencil marks. For the E's, I'll cut the groove angled in toward the tuner just a little bit. |
|
|
I shoot for a nut slot angle that's in-between the flat fingerboard angle and the angle to the tuner hole. I usually lean a little harder toward the tuner hole. You can see why I like low tuner shafts- with taller shafts, I'd have to have a flatter file angle and those are much more prone to buzzing than the fairly sharp angle I'm able to use here. |
|
|
The two E's are set into a shallow groove. I keep
the groove as shallow as I can so that if I mess up, I fill it with
superglue and dust and recut. When it comes time to finish the
nut, the shallow groove will be completely removed. Every now and
then, I'll miss calculate and have to fix things up.
You can see how evenly the edges of the E lie on the fingerboard. I like that. The red on the frets is from my leveling/crowning. Frets just haven't been polished up yet. |
Let's pop over to Nuts, Page 2