Right Hand Techniques
We were discussing right hand angles on Flatpick-L and I decided to shoot these photos to illustrate the various angles involved in picking. There are basically 3 angles involved:
[note: I'm using a purple Tortex here because it shows up well in the photos.]
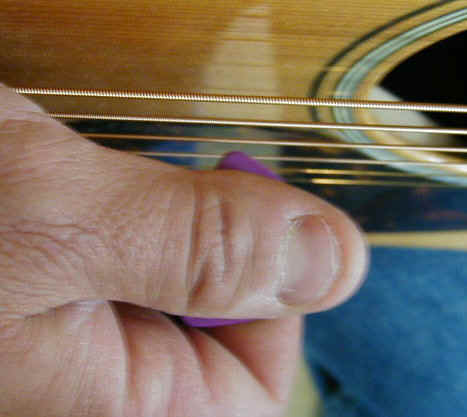
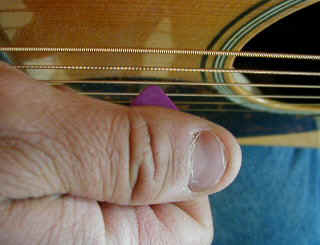
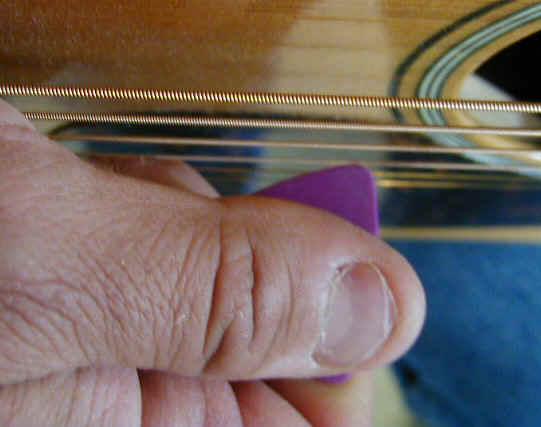
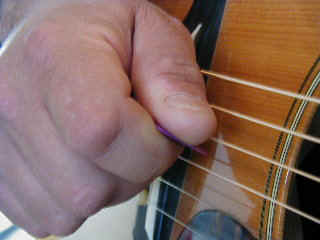
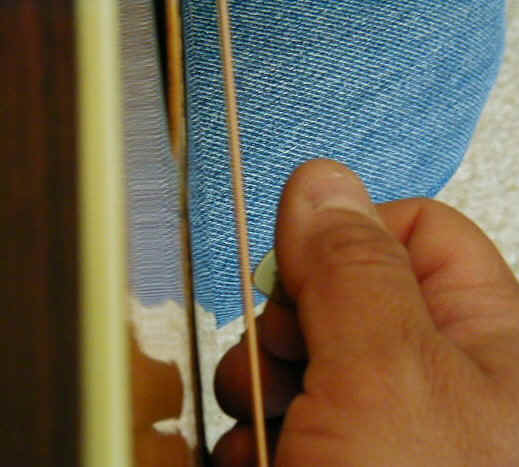
1) the point of the pick. The point of the pick could be pointed at the guitar or it could be pointing toward the fingerboard or toward the bridge. I'm pointing "back" in the left photo, straight in the middle, and "forward" in the right photo.
2) the angle of the pick. The pick could hit the strings perfectly flat, or it could hit on edge. Here, I'm hitting on the "rear" edge in the left photo, "flat" in the middle, and the "front" edge in the right photo. Note what's happening with the thumb joint in these photos- starting from the middle photo, you can control the angle of the pick with the thumb so that you hit on either the rear and the front edge, depending on the sound you want. You don't have to be locked into 1 position.
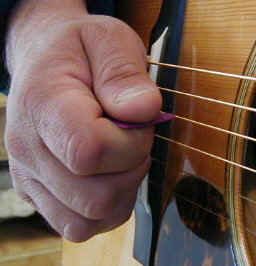
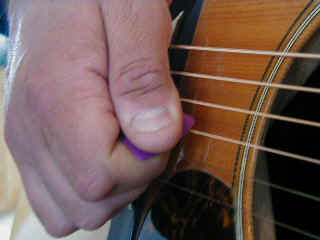
3) the "pull" of the pick. The pick could be perpendicular to the face of the guitar, or it could be aimed down toward the floor or aimed toward the ceiling. The left photo is a good angle for doing a "sweep" from the treble to the bass strings,, while the middle and right photos are what you'll use when moving from bass to treble. If you're using a thinner pick, you can use the left photo to really "snap" the bass strings. Note that regardless of the pick dig, your right hand will continue across the face of the guitar- you're not going to pull "out" in the left photo, but drive straight down thru the string. Likewise, in the right picture, the pick is going to "slip" off the strings.
There can be any possible combination of these angles. Each of these angles will
give you a different sound, feel, and attack so your best strategy is to consciously vary
them while practicing and make note of the sounds they produce. Also note that while
I'm actually re-gripping the pick in most of these photos, you'll probably change pick
angle while playing by changing your finger/wrist/arm position. By collapsing or
arching your wrist, for instance, you can change Angle 1. By rotating your
wrist, you'll change Angle 3.
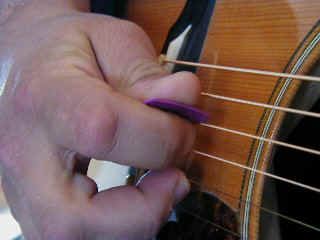
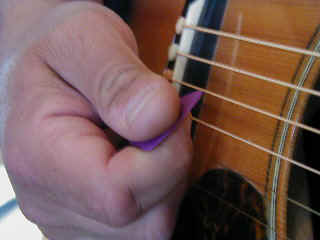
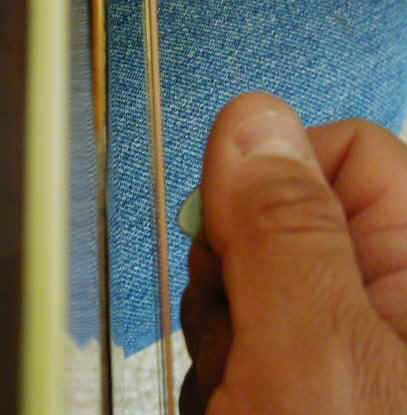
Here's how I personally actually hold the pick....I tend to hold Angle 1 at a little bit of a "rear" angle, Angle 2 at a "forward" angle, and Angle 3 varies depending on the attack that I want.
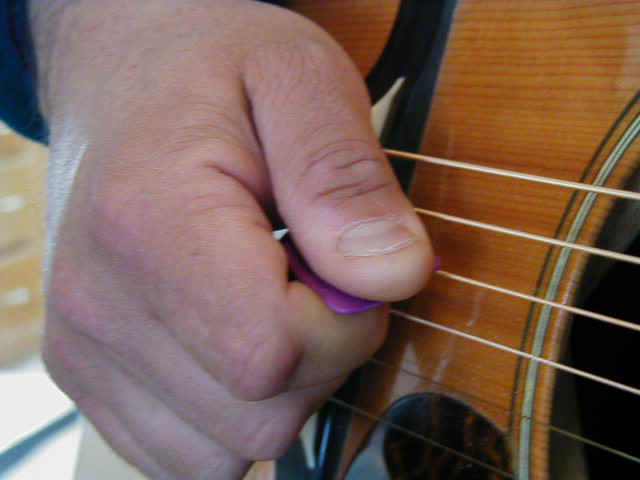
This is about how much of the pick I normally have exposed, and this is a pretty typical right hand view. Note that the pick isn't digging in, the other fingers are relaxed and lightly touching both the pickguard and the treble E string. This is just me- you have to find what works for you.
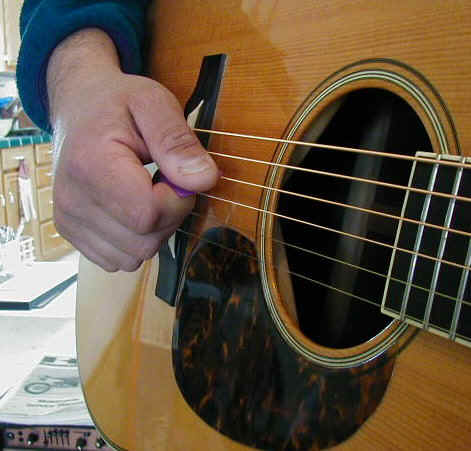
Here's another shot of my right hand- here I'm doing more "bracing" with the other fingers, bracing them against the treble E string:
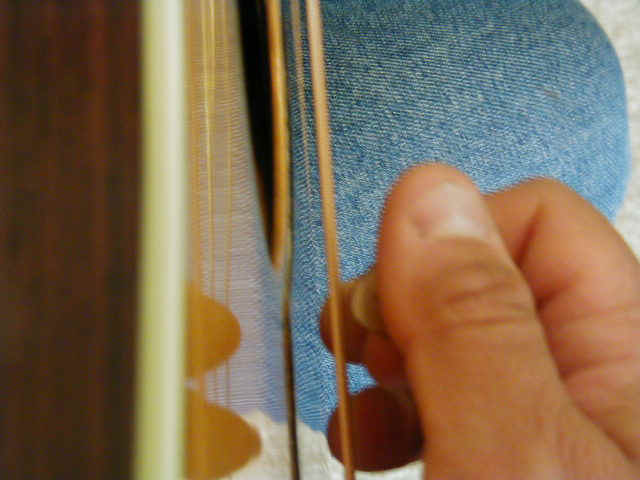
And here's a shot of my right hand "floating", with no contact at all:
Note how the pick is angled back a little toward the bridge, so that it's actually striking the pick a little off the actual point.