I want to get this mandolin back together fairly quickly, so all of this is happening in 1 day's work, start to finish.
Gotta move fast now and didn't take as many pictures.


Putting Tone Bars in a Mandolin
Scraping the back, new tone bars, etc, Page 3
|
|
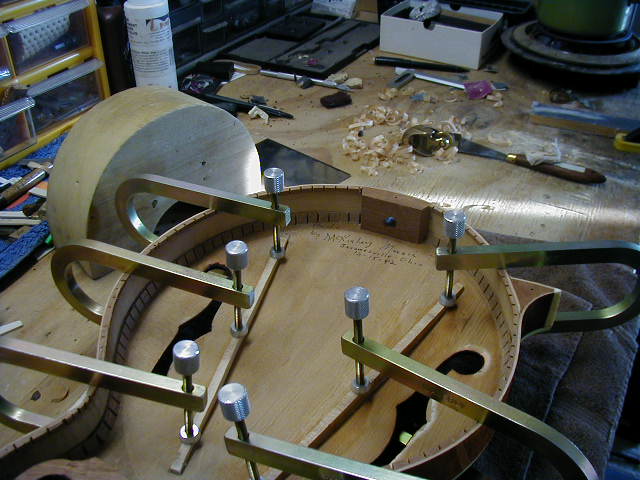
First thing to do is cut some tone bars, shape and fit them to the top, and clamp 'em in place. I left the bars flat on top to help with clamping. The clamps are, of course, backed with cork so as to not dent the top. A go-bar deck would be even better, but I don't have the room. This'll work fine. |
|
|
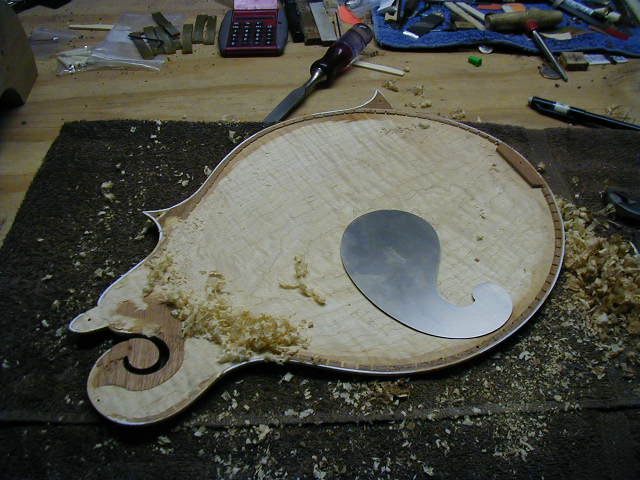
While the tone bars are gluing, I'm going to scrape the back down.
The back was really thick and killed the bass response of this mandolin,
so I'm going to scrape it down until it feels and sounds better.
This is just a seat of the pants thing for me- I'm not stopping at a
certain note or anything. I am tapping the back of my Krishot and
comparing it to this one. I want to get this mandolin back together fairly quickly, so all of this is happening in 1 day's work, start to finish. |
|
|
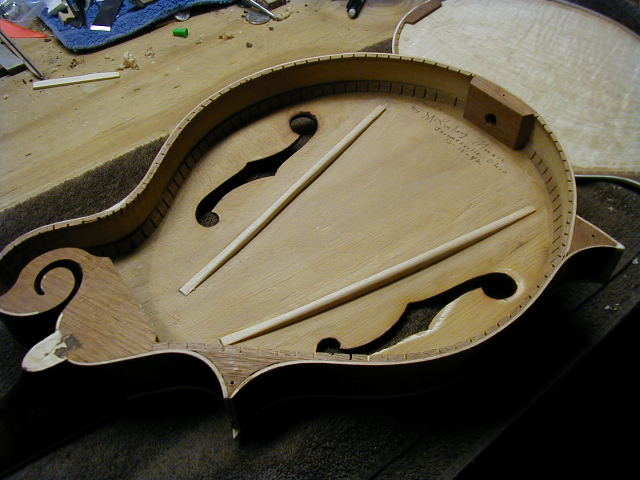
Here are the tone bars, in place, sanded, shaped. I'm using a
fairly symmetrical placement here for no other good reason than I wanted
to. Gotta move fast now and didn't take as many pictures. |
| This space left blank until I find the picture of the back being clamped! | |
|
|
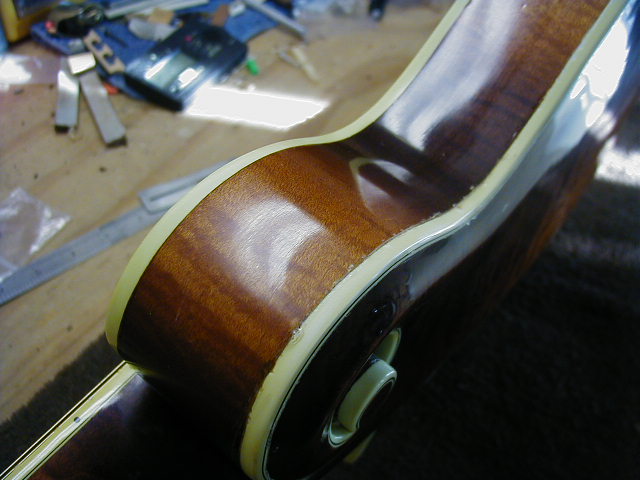
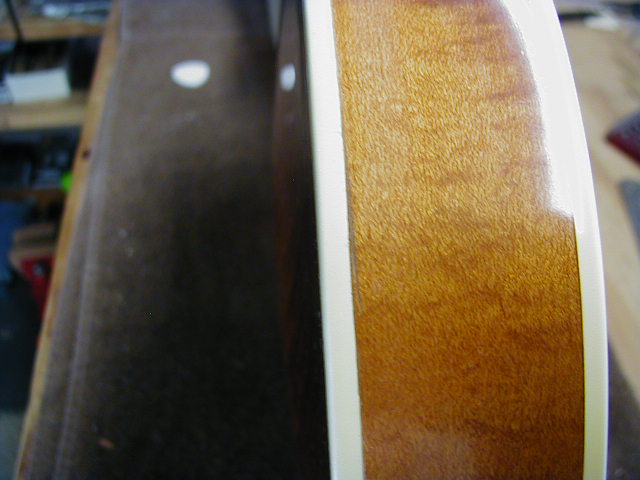
Here's a close-up of one of the filled-in locator holes. On a more expensive mandolin, I would've taken more time to hide these, but this doesn't look too bad, really. |
|
|
And here's the back on again. This is immediately after gluing with no touch-up at all yet. Not too bad, really. |
|
|
Here's a section that I touched up with a little soft wood putty, some stain, and a smear of glue. Overall, though, the back went on nicely. More importantly, the mandolin sounded much better with more bass and a fuller sound. |
|
|
One thing I like to do in mandolin setups is angle the bridge back toward the tailpiece a little. It requires re-fitting the bridge to the top, but I think it gives a brighter, crisper sound. |